Showing posts with label texture tiles 1. Show all posts

Sunday, February 13, 2022

A Trio of Valentine's Day Cards

I'm sharing a couple of Valentine's Day cards I made with some backgrounds I created a few weeks ago. You can see another card that I made using one of them here.


Backgrounds I made a few weeks ago. 


I die cut a whole bunch of hearts from the one panel. I created three cards featuring them.


Card #1


The background was created with a second generation inking of the Grunge Grid stencil. After you ink up the first piece of cardstock with full color, remove, spritz stencil with water and lay over another piece of cardstock. It produces a beautiful faded version of the first piece.

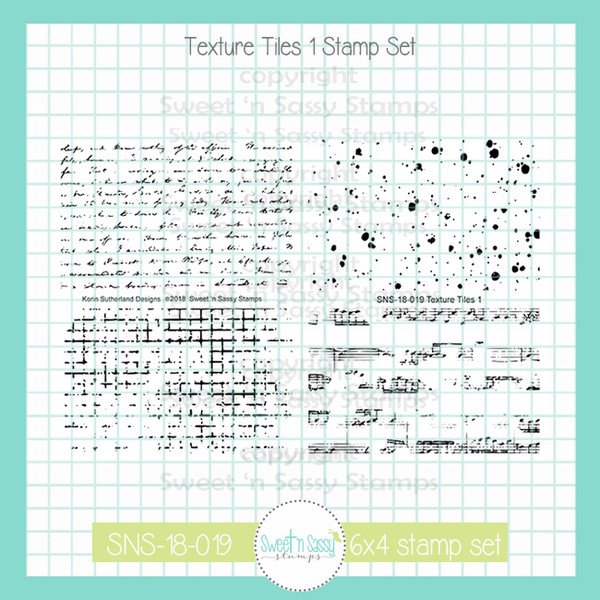
For the background panel, I added tiny stenciled hearts, black paint splatters and some texture using two texture tiles stamp sets. I die cut the panel, mounted on black and attached to a white base. I stamped the sentiment with black ink and the XO in pink and trimmed to size. 

The hearts came from ink smooshing all the excess ink off the Grunge Grid stencil and my mat from the pink and green backgrounds I created. It wasn't dark enough so I laid down some more ink and picked up more color. 

I die cut the hearts and decided on the placement of the sentiment. Then arranged and glued down the hearts so they cascaded along the edge of the panel. I added the XO to finish it off.


Card #2


The the background for the green version was created in the same way as the pink one. The hearts were cut from the same panel as the first one, spritzed with a glitter spray before attaching to the panel. I did add some extra ink to the hearts to brighten some of them up before adding the glitter.


Card #3. Once I die cut all the hearts from the panel, I decided it was too pretty to throw away and made it into a card. 


I matted the heart panel, after spraying with glitter, on a piece of cardstock inked up with a pale pink ink. I used the same color ink to stamp words and small hearts inside the cut out hearts. Then, I die cut the panel, matted with pink and attached to a white base. I die cut the large heart in three colors, added texture with two texture tiles stamps sets, spritzed with glitter spray and glued to the front. I stamped the sentiments with black, trimmed to size and popped up with foam tape as seen.

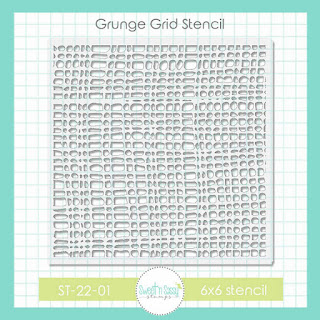

Grunge Grid Stencil

Bitty Hearts Stencil

Hearts Die Set


 Texture Tiles 1


Texture Tiles 6 

Much Love


 Love Wordfetti

Typewriter Blocks Alpha


Latte Love(small solid heart) 


This post linked to:


I hope you enjoyed today's card and thanks so much for stopping by!

Karen


Sunday, April 19, 2020

Miss You So Much & FMS431

I'm sharing a card I made for the current Freshly Made Sketches #431. I am finally learning how to use digi stamps with the release of  Sweet 'n Sassy Stamps new digital set, In This Together. I love the images and the sentiments in this set!


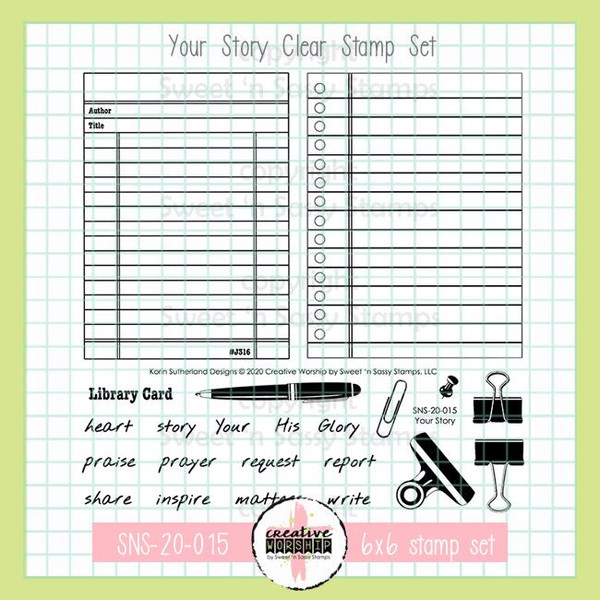
I started by printing out the digi stamp and sentiment onto Canson XL Mixed Media Paper. I watercolored the teapot with Arteza Real Brush Pens (ginger, cadmium orange, olive green, wine red, rouge pink, bumble bee yellow and sunset yellow) and fussy cut out. I used a craft knife to cut out the inside of the handle. Next, I stamped the library card from Your Story on creamy cardstock with Antique Linen Distress ink and cut out. I stamped the script from Texture Tiles 1 in Sage Shadow ink onto the library card (unfortunately, it doesn't show up well in the photo) and lightly roughed up the edges with a distress tool.

I gently sponged the edges of the kraft base, words and library card with Antique Linen. I dry embossed a piece of Handsome Hunter cardstock with old cuttlebug folder. I attached the embossed piece to the cardbase and wrapped some twine around the front (adhering under the teapot). I assemble the rest of the card as seen popping the teapot and sentiment up with foam tape.

I had every intention of following the sketch exactly. After I dry embossed the cardstock, I realized it wasn't wide enough to work right so I decided to flip the sketch. This is in no way a clean and simple card, but I enjoyed working with the sketch. I like how it turned out!


Thanks for stopping by and happy stamping!

Karen

Monday, February 24, 2020

Sweet Chick

Hello friends! I'm sharing two cards today I made for the sketch challenge in the Sweet 'n Sassy VIP Group on Facebook. I am a long time fan of sketch challenges because they give me a starting point.

For my first card, I decided to replace the circle with a square (see sketch below). I started by creating my paint splatter background using canson mixed media paper, artist loft paint and a small paintbrush. I dipped my paintbrush in water, then the paint and flicked it onto my paper. Super easy and fun!

I stamped the adorable chick from the new Springtime set onto the same type of paper with VersaFine Clair Nocturne Ink and heat set. I colored the image using bubblegum pink, orange, lemon yellow and light green Arteza Real Brush Pens and fussy cut out. I trimmed my paint splatter panel down and attached to a green card base. I cut the green square and cut and trimmed the end of the pink piece to look like a banner and taped both pieces to the card front. Next, I attached the chick and butterfly (taken from my stash of already colored images) as seen. I did pop the chick up with foam tape. Finally, I stamped the sentiment from Lots of Love onto the green piece with the same ink as the chick. Yes, I actually did that as the last step, because I forgot to do it before I glued down the green square. I sure was glad I did not mess it up!


For my second card, I followed the sketch and kept the circle. I started by using a stitched circle die to cut a piece from an ink smooshed background in my stash. The colors I used for the ink smooshing are picked raspberry, peacock feathers and twisted citron distress oxide inks. I also used an extra heat embossed dragonfly leftover from this card. Sometimes, it pays off to have extra pieces on hand to make a quick card. I used Texture Tiles 1 to create the pattern on the green and pink pieces. I stamped the words from Dragonfly Dreams onto the pink piece and wrapped the string around, taping it to the back. I attached all the pieces as seen popping up the circle, dragonfly and pink piece with foam tape. Last, I added the enamel dots from Gina Marie Designs.


Thanks for stopping by and have a fantastic day!

I would love to have you follow my blog. Just click the follow button on the right if your interested. If your on the mobile version, just scroll down and switch to the web version and you will then be able to see the follow button.

Wednesday, February 12, 2020

February Blog Hop Sweet 'n Sassy Stamps

Welcome to the Sweet n' Sassy Stamps February Release Hop!

There's another fabulous release in the SNSS shop that we've been stamping with and we're so excited to share our projects with you! Hop along and leave a little comment love for the designers linked below and you just might be a lucky winner! One lucky comment from all the comments along the hop will win a $10 gift voucher to the Sweet n' Sassy Stamps shop. Winner will be announced on the SNSS blog, Wednesday, February 19.

I made my card with the new sets Dragonfly Dreams and the stamp of the month Sentimental Mash-up. The dragonflies are a layering stamp set (it's amazing) and pairs perfectly with the mixed fonts of the sentiment set. I used a painting techique I learned watching a video Korin did live during the January stamp-a-thon in the VIP Group on Facebook.


I used Canson XL watercolor paper for the technique (it is the second one taught in the video). I started with dry paper and then using a damp flat brush I dipped each side into a different coordinating color of watercolor paint. I used artist loft brand from Michaels. I chose a green and blue hue that I thought would work well together. Then starting at the edge of the paper swipe the brush, repeat until one side is covered. Don't worry about being perfect or having even edges as it adds to the effect. You don't want your brush too wet as it needs to be on the drier side for this technique.

Then I added some paint splatters in green, blue and black, but felt like the background needed something else. So I pulled out Texture Tiles 1 and added some black grid marks and blue dots on the painted side and die cut the panel. Next, I stamped and heat embossed the dragonflies with black embossing powder onto blue cardstock and fussy cut out. I decided on placement of the dragonflies and adhered to the painted piece. I then stamped the words on the front with VersaFine Clair Nocturne ink. As the final touch I added three small sequins.


Thanks for stopping by and your next stop on the hop is the amazing Lee Ann Barrett!