Showing posts with label dry embossing. Show all posts

Wednesday, July 8, 2020

Bee Sweet

I am sharing two cards I made using the cute beehive and small bee images from the new set Bee Sweet from Sweet 'n Sassy Stamps. This set is so sweet!


For both cards, I stamped the beehive and bees on Canson XL mixed media paper with VersaFine Clair Nocturne ink. I colored the images with Arteza Real Brush Pens and cut out. I used the following colors for the images, lighter beehive (chocolate, bumblebee yellow, olive green), darker beehive (walnut, sunset yellow, crocodile green) and bees (ginger, bumblebee yellow, ice blue).

For the first card, I dry embossed a white piece of cardstock with a honeycomb folder and die cut with a stitched rectangle. I stamped the sentiment on Cool Caribbean cardstock with the same ink as the images. I assembled as seen, popping the beehive, sentiment strip and one of the bees up with foam tape. I added a lot of sequins and a few more bees to the front. As the final touch, I added Wink of Stella to the wings of the bees.


For the second card, I used a sunburst stencil, fossilized amber distress oxide ink, white cardstock and the same rectangle die as above to create the panel. I stamped the sentiment directly on the panel with the same ink as the images. I added some green washi tape from my stash and assemble as seen popping the one bee on the beehive up with foam tape.

On both cards, I decide to bend the bee's wings up just a bit for some dimension and double stacked the bees on the beehives.


Thanks so much for stopping by and have a fantastic day!

Karen

I would love to have you follow my blog. Just click the follow button on the right if your interested. If your on the mobile version, just scroll down and switch to the web version and you will then be able to see the follow button.

Saturday, June 20, 2020

Ink Shaded Pattern Paper

I recently came across a video using a technique called Ink Shaded Pattern Paper. I thought it would be great to try out with the new Dazzling Dahlia set from Sweet 'n Sassy Stamps.


I started by finding some coordinating pattern paper and ink that would work for blending with them. Then I used garden green and pumpkin pie ink to blend over the top of the pattern paper. I stamped the flower and leaves in Versafine Clair Nocturne ink on them and fussy cut out.

I dry embossed the Kraft panel with a honeycomb folder and then die cut with a stitched rectangle die. I stamped the sentiment from Encouraging Thoughts and cut out with a  stitched sentiment strips die. I assembled as seen and added black enamel dots to finish. This pattern paper is actually quite bold, but blending a coordinating ink over it gave it a more subdued look while allowing the pattern to still show through. I really like how it turned out!


Thanks so much for stopping by and have a fantastic day!

Karen

I would love to have you follow my blog. Just click the follow button on the right if your interested. If your on the mobile version, just scroll down and switch to the web version and you will then be able to see the follow button.

Sunday, April 19, 2020

Miss You So Much & FMS431

I'm sharing a card I made for the current Freshly Made Sketches #431. I am finally learning how to use digi stamps with the release of  Sweet 'n Sassy Stamps new digital set, In This Together. I love the images and the sentiments in this set!


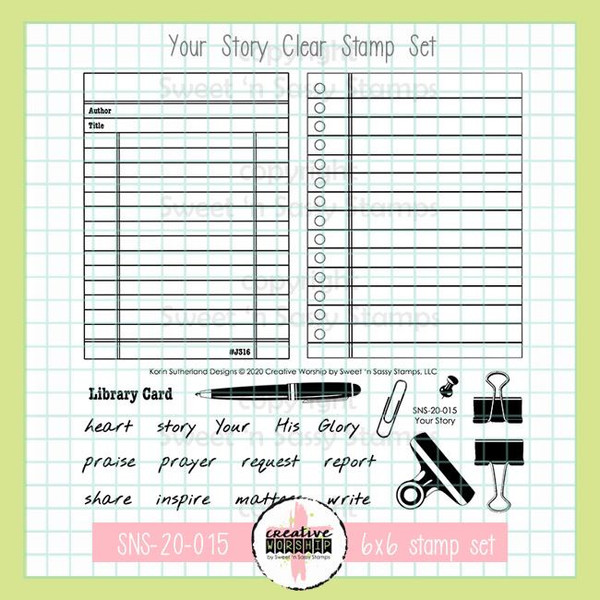
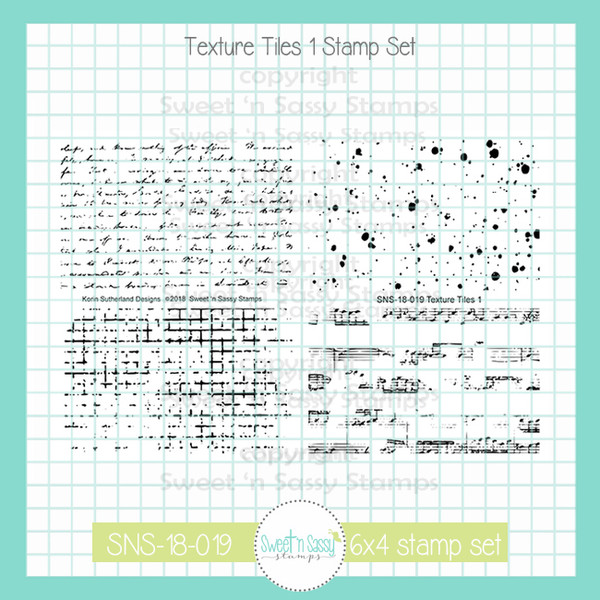
I started by printing out the digi stamp and sentiment onto Canson XL Mixed Media Paper. I watercolored the teapot with Arteza Real Brush Pens (ginger, cadmium orange, olive green, wine red, rouge pink, bumble bee yellow and sunset yellow) and fussy cut out. I used a craft knife to cut out the inside of the handle. Next, I stamped the library card from Your Story on creamy cardstock with Antique Linen Distress ink and cut out. I stamped the script from Texture Tiles 1 in Sage Shadow ink onto the library card (unfortunately, it doesn't show up well in the photo) and lightly roughed up the edges with a distress tool.

I gently sponged the edges of the kraft base, words and library card with Antique Linen. I dry embossed a piece of Handsome Hunter cardstock with old cuttlebug folder. I attached the embossed piece to the cardbase and wrapped some twine around the front (adhering under the teapot). I assemble the rest of the card as seen popping the teapot and sentiment up with foam tape.

I had every intention of following the sketch exactly. After I dry embossed the cardstock, I realized it wasn't wide enough to work right so I decided to flip the sketch. This is in no way a clean and simple card, but I enjoyed working with the sketch. I like how it turned out!


Thanks for stopping by and happy stamping!

Karen

Saturday, March 7, 2020

Welcome Sweet Baby

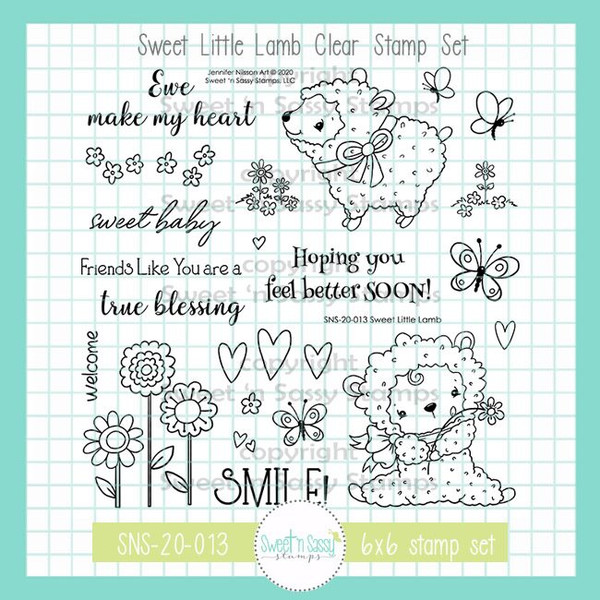
Hello friends! Today I'm sharing two sweet baby cards I made with the darling new set Sweet Little Lamb from Sweet 'n Sassy Stamps. For both cards, I used the smaller images in the set and a technique called popping pastels to create the colored panels. If you are unfamiliar with popping pastels, all you need to do is stamp images with versamark ink onto white cardstock then rub chalk pastels over the top using cotton balls (rub the cotton ball onto the chalk then on the cardstock). The images you stamped will magically pop darker than the rest of the cardstock. I love this oldie, but goodie technique!

For my first card, I used Julee Tilman's Mojo Monday 532 sketch.  I stamped the lamb on canson xl mixed media paper with versafine clair nocturne ink, colored with Arteza Real Brush Pens (ginger, rouge pink, ash black, smoke gray, wisteria purple) and fussy cut out. I stamped the words using the same ink onto white cardstock, cut with a circle die and stamped the small hearts with purple ink. I embossed the white panel with a dot embossing folder. Then, I attached the purple panel to the white panel, positioned ribbon and attached to the back then adhered the panel to the purple card base. Next, I positioned and popped up the sentiment and lamb with foam tape. As the final step, I tied a small piece of of ribbon towards the top of the card.


For my second card, I used the same paper and ink. I colored the image with Aretza Real Brush Pens (ginger, rouge pink, ash black, smoke gray) and cut with a circle die. I stamped the words, then adhered the heart panel, gray and pink pieces to the gray cardstock base. Finally, I popped up the lamb with foam tape.


Thanks so much for stopping by and have a fabulous day!

I would love to have you follow my blog. Just click the follow button on the right if your interested. If your on the mobile version, just scroll down and switch to the web version and you will then be able to see the follow button.

Sunday, March 1, 2020

Blessings & FMS424

Hello friends! I made this card for the Freshly Made Sketches #424 using the brand new stamp of the month Blessings in Disguise from Sweet 'n Sassy Stamps. One of the things I love about this set, besides the images, is the sentiments! Love the different ways you can combine them!


I stamped the image onto Canson XL watercolor paper with VersaFine Clair Nocturne ink. I colored with Arteza Real Brush Pens (lemon yellow, bumblebee yellow & olive green) and fussy cut out. Next, I stamped the words onto kraft cardstock with the same black ink. First, I dry embossed the kraft panel with a Darcie honeycomb folder. Then, I die cut it with a Double Stitched In and Out Cut Rectangle set from Gina Marie Designs. I cut a piece of black cardstock and clipped the end. I attached all the layers as seen, popped the flower up with foam tape and attached the sequins as the final touch.


This post is also linked to Simon Says Wednesday Challenge - Anything Goes.

Thanks for stopping by and have a fantastic day!

Karen