Welcome to the Sweet 'n Sassy Stamps VIP Group Stamp-A-Thon! I am hosting challenge #5 Fun with Stencils. I challenge you to create a card using one of the stencil techniques below. You have through Friday August 20th to post your creations in the special album in the VIP group. There is a special sale this weekend for VIP members only, info posted in the group.
I wanted to play with stencils and give you a couple of fun and easy techniques to use to create your cards. I had lots of fun trying some new things myself! I hope you will join in the fun this week!

Technique #1 is called laying down ink first. You can use dye or distress (reg or oxides) inks.

Start your background by laying down the lightest color ink first. Then, lay your stencil over the top and tape down. Next, ink up your stencil with a darker shade of the first color. This creates a nice tone on tone look. For this card, I used regular white cardstock.
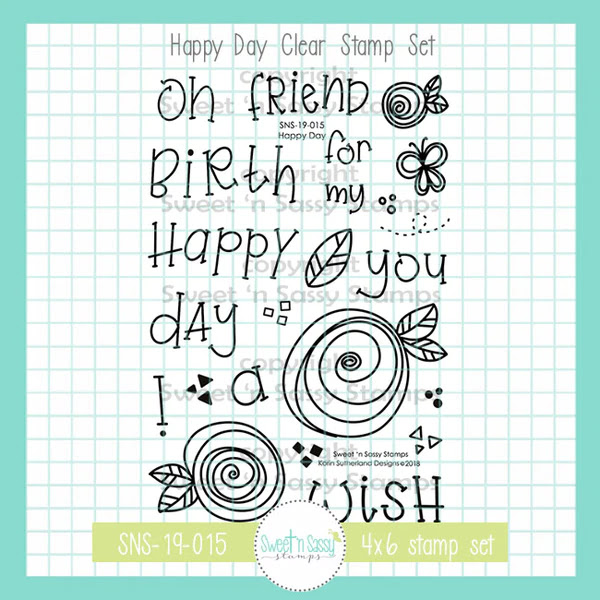
Supplies: Delighfully Delicate Stencil, Happy Day, All About You(retired oops), Sprout and Parsely ink, VersaFine Clair Nocturne ink, white and black cardstock, clear embossing powder, Watercolor Brush Markers(Altenew), foam tape and rectangle stitched edge die.


Technique #2 is called stamping with your stencil with water. You will need to use distress inks or other water reactive inks for this one.

Start your background by laying down your ink first making sure to blend where they meet. Then, spray the backside of your stencil with water and in one quick motion flip it on top of the cardstock and press down. Next, lay a paper towel over the top of the stencil to blot off extra water and let sit so the water reacts with the ink. I didn't let mine sit too long 45-60 secs. Finally, take the stencil off and set aside to dry.
What this does is it fades the solid areas around the stencil openings allowing the stencil openings to be darker. I really like how it varies the light on the solid part of the stencil. I also discovered it works best on bolder/darker ink colors as you can see with the background on the left in the photo.

Supplies: Starry Night Stencil, Peace Be Still, Strathmore Bristol Smooth, chipped sapphire and faded jeans distress oxide inks, VersaFine Clair Nocturne ink, paper towels, white pigment ink, white embossing powder, stitched edge rectangle die, foam tape, watercolor brush pens(Arteza) and paintbrush(for splatters).


Technique #3 is called stamping with your stencil with ink. I used dye inks for this background.

Start by swiping your ink across the stencil always starting with your lightest color first. Then, spray the stencil with water, place your cardstock facedown and press down all around. Next, lift off and set aside to dry(resist urge to blot), spray your stencil again and lay another piece of cardstock down to get a second generation stencil stamped background, set aside to dry.
Supplies: Grunge Dots Stencil, Nature Silhouettes, Faith, Strathmore Bristol Smooth, Buttercup, Parsley and Oceanside inks, VersaFine Clair Nocturne ink, white and black cardstock, foam tape and stitched edge rectangle die.
I didn't think about doing a second generation of the background until after I completed the first version and was already working on my second one. As you can see from the photo below, the first generation is much bolder than the second one. I like them both and I really like getting two backgrounds from one inking session. The background on the right I replaced Parsley with Honeysuckle ink. I spayed too much water so it ran more, but I like how it looks once it dried. Prior to drying it just looked like a hot mess. Oh, and resist the urge to blot. Trust me!


I hope you have enjoyed these fun stencil techniques and you give one or more of them a try.
Thanks so much for stopping by!
I would love to have you follow or subscribe to my blog. Just click the buttons on the right if your interested. If your on the mobile version, just scroll down and switch to the web version and you will then be able to see the follow/subscribe button.